
- The PowerMatrix

- The final product
- More photos of the final product
- In mid April I recieved a number of systems in trade, mainly wanting a set of good desktop PPC systems but in a way for three 1x0 powerbooks. It was also about that time that I started to really wait for The Matrix: Reloaded And then one month ago, April 17, (I'm writing this on May 17) I made a blog entry involving the two items. Soon after I started to sand down the 'book and bought the first of the paint. But it wasn't anything more than getting rid of those ridges with some various grit sandpaper (60 to 200)
- After the sanding I needed the paint. From the start I knew I wanted a green grid, muck like one of my favorite kaleidoscope schemes, Gridzilla. So initialy I decided on Hunter green as a base coat, flat black above that, and a satin clear coat as I have heard many cases where people didn't like fingerprints on a glossy clear coat, and this is a powerbook and amazingly powerbooks have this thing with being carried around expecialy when you build working abtteries for them. When picking up this paint I also noticed some yellow mesh intended for plastering that made a perfect grid, exactly the effect I wanted. However that green never got laid down, in favor of a Metal flake green from testors (model paint) spoted at a Walmart and eventulay all of these first colors were removed.
- In this first coating I did notice how amazing the green metal flake was, highly reflective, thin enough to be semi-transparent, and all in all beautiful.
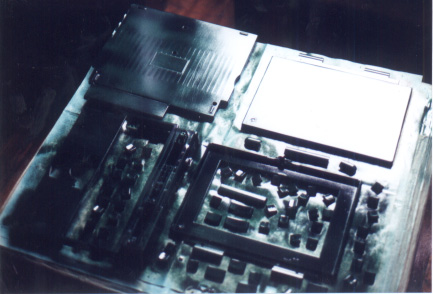
- Amazingly refletive for a very thin coat.
- More photos of the first green coat (nearly the same as the 2nd)
-
Next came the masking, probably my largest problem on the first revision. I made the mistake of rushing and didn't carefully trim the mesh and it shows in the images. When the paint went on it went everywhere it wasn't supposed to go.
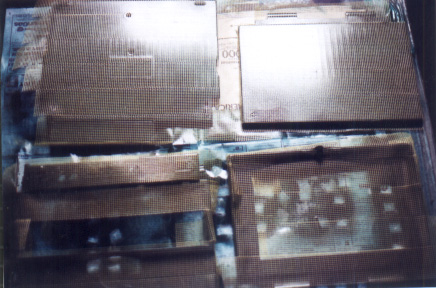
- The horrible job of masking the 1st revision.
- Photos of both 1st and 2nd revision masked
- Although I shouldn't have I went ahead and painted with the flat black, at first it looked great and the grid looked fine. Once I took all the masking off tho' I realized the mistake and resolved to strip it and repaint. I'll certainly use the flat black again tho', it's very nice effect.
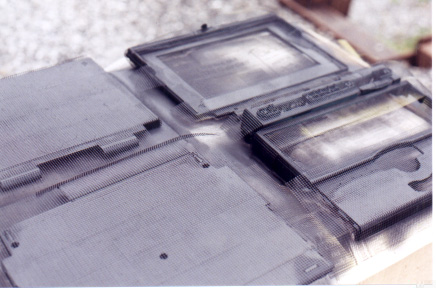
- Looks good, but looks can be decieving
- Photos of the both 1st and 2nd revisions painted black
- After this black coat I rushed on a coat of the satin clear coat, this was my second major mistake, again no photos as I almost instantly submerged it in alcohal to remove the coats. I didn't use any acetone based paint removers, that stuff eats plastic. I forget exactly what I used but I think it might have been denatured Alcohal. From this I also learned that I need to test concepts before doing.
- After dring and sanding the plastics a little I was ready to repaint, this time with more Metal flake Green, a Metal Flake Black, and a glossy clear coat. First on again was the metal flake green, and it was much the same as the first job Seeing this I didn't take any photos on the 2nd revision
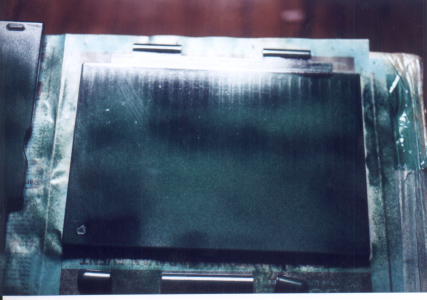
- A first revision picture but the green coats were the same (at least nearly so)
- More photos of the green coat
- Now I really spent the time to mask the plastics propperly, carefully cutting each piece and carefully applying it. In the end it worked fine and created the effect I wanted.
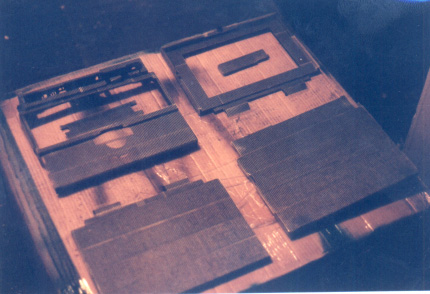
- All the 2nd revision parts masked carefuly waiting to be painted
- Photos of the both 1st and 2nd revisions painted black
- Next up was unmasking, something else I did in a hurry as I wanted to see the final product. There were a couple problems with this, in a few pointed the black paint was stuck to the mesh and came up in squares. On the other hand it did help to give it a beaten look that I really like. I'll explain this a little more in a minute.
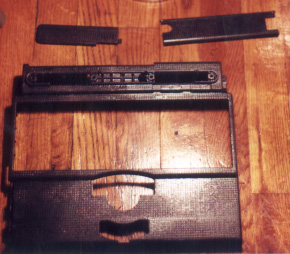
- starting to peal up the masking on the 2nd revision
- The Final Photos
- Next I hit everything with the glossy clear coat, and this while not producing the effect wanted, did create an effect that on its own would fit into the Matrix. If you'll remember much of the hardware used by the main characters was weathered and rough, so haveing those semi-dull and worn appearances works well. All in All I didn't get my disired effect but I managed to pull out something that is wonderful. Now I want to rebuild the battery (reconditioing isn't going to save this beast) and put in a green CCFT

- The final product
- The final photos (unmasked and reassembled)
-
-
Feel free to send comments or questions about the PowerMatrix (or any of my other hacks and mods) to me at g3head@mac.com


